Cut, Push-fit or Inlay?
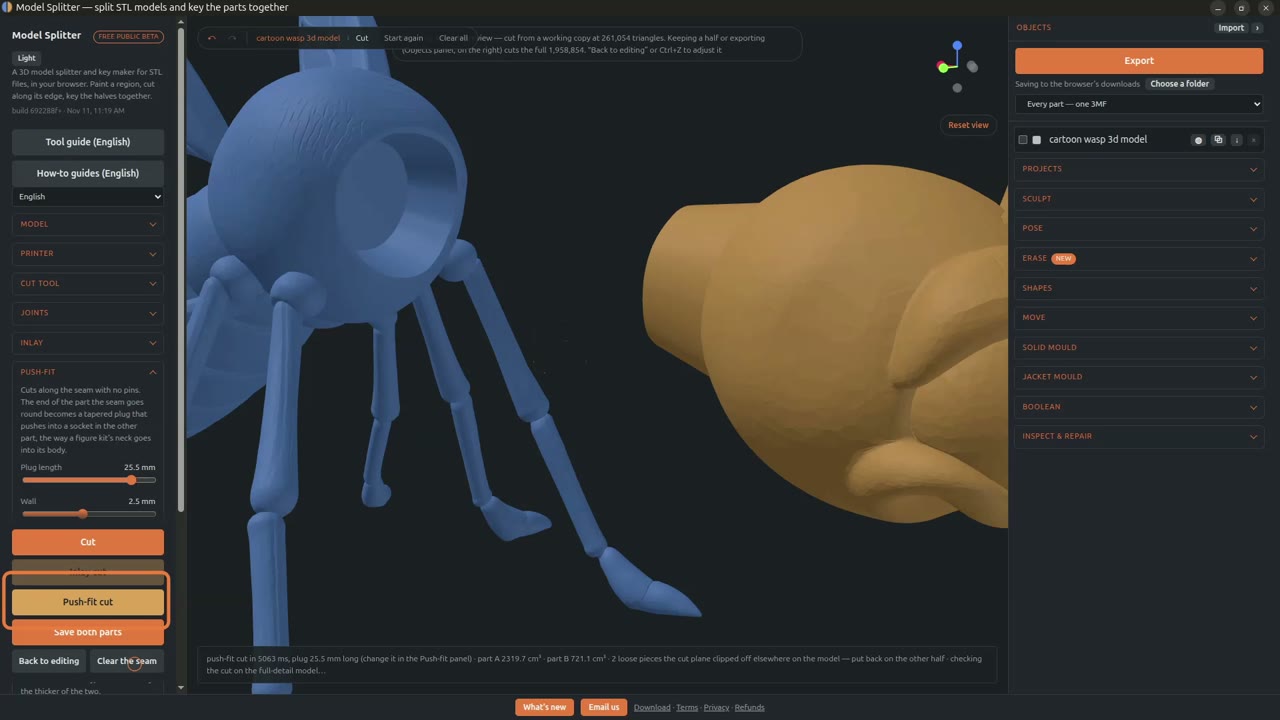
Three ways to join the parts, on the same mosquito. Cut goes right through and adds joints: built-in pins, loose tenons, or magnet sockets so it comes apart again. Push-fit cut turns one part into a tapered plug that pushes into a socket in the other, like a figure kit's neck into its body, with no pins. Inlay cut presses the shape into the model instead of cutting through, leaving a recess and a piece to print in another colour, such as eyes or a badge.
In the video
- Cut, with a built-in pin
- Push-fit cut
- Inlay cut
New here? Start with Your first cut. To draw the seam itself, see Band and Rope cuts and Paint to cut.
Next: Fit any model to your printer, for a model too big for the bed.
Try it on your own model
It runs in your browser, and the model never leaves your computer.
Open Model SplitterTool guideNo model yet? Make one from a photo or a prompt with Tripo AI, then split it here. (An affiliate link: we earn a commission if you subscribe.)